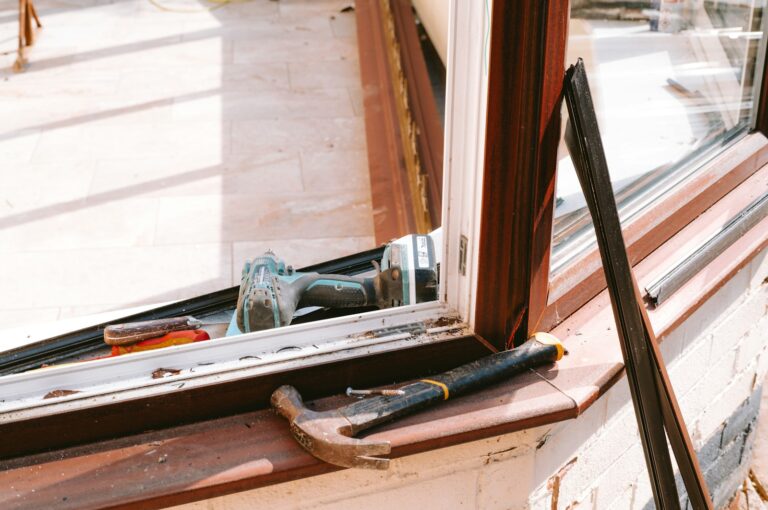
A broken sash cord is one of the most common sash window faults. The sash suddenly drops, or will not stay open. The good news is that replacing a cord on the lower sash is a manageable job for a confident DIYer with a free afternoon. This guide explains how to do it safely, and when it is better to call a specialist.
Before you start: safety
- Sashes and weights are heavy. A lower sash can weigh 15–30 kg and the weights several kilograms each. Work with a helper.
- Glass can break. Wear gloves and eye protection, and keep children and pets away.
- Old paint may contain lead. Many period homes have lead paint under modern layers. Do not dry sand or burn it off. Use a wet scraper and clean up carefully.
- Upper sashes are harder. Replacing the cords on the top sash means removing the parting beads too. If the windows are on an upper floor, or the house is listed, consider a professional.
Tools and materials
- New sash cord (waxed cotton or polyester, usually No. 8). Buy enough for both sides plus spare.
- A “mouse”: a small weight on a length of string to feed the cord over the pulley (a short length of chain or a fishing weight works)
- Stiff filling knife or bead lever
- Hammer, nail punch and pincers
- Small galvanised clout nails or tacks
- Utility knife and screwdriver
- Pencil, masking tape and a dust sheet
Step 1: Remove the staff beads
The staff beads are the timber strips on the inside of the frame that hold the lower sash in place. Score along the paint line with a knife so the paint does not tear, then gently lever the beads off, starting in the middle and working outwards. Number them so they go back in the same place.
Step 2: Lift out the lower sash
Raise the sash a little, angle it out of the frame and rest it on a dust sheet. If one cord is still intact, carefully cut or untie it while holding the cord, and let the weight down slowly to the bottom of the box so it does not drop and damage the frame.
Step 3: Find the weights
At the bottom of each side of the frame there is a pocket cover, a small removable panel in the pulley stile. Prise it out (it may be painted over or held with a screw) and reach in to find the weights. The weight for the lower sash is usually the one nearest the room; the one behind it belongs to the upper sash. Pull out the broken cord.
Step 4: Feed in the new cord
Tie your mouse to the end of the new cord and feed it over the pulley at the top of the frame. Let it drop down inside the box, then pull it out through the pocket. If the pulley is stiff, a little wax or a drop of light oil helps.
Step 5: Tie the cord to the weight
Thread the cord through the hole in the top of the weight and tie it off with a secure knot, such as a figure-of-eight, leaving a short tail. Put the weight back in the box and replace the pocket cover.
Step 6: Set the cord length
This is the important bit. Pull the weight up until it is about 50 mm (two inches) below the pulley, and hold the cord there. Rest the sash on the sill in its closed position and mark the cord level with the groove on the side of the sash. When the sash is fully open, the weight should not hit the bottom of the box, and when it is closed the weight should not touch the pulley.
Step 7: Fix the cord to the sash
Cut the cord at your mark, leaving enough to sit in the groove on the side of the sash. Tack it into the groove with three or four clout nails, keeping them in the top part of the groove so they will not show or catch. Some sashes have a knot hole instead, in which case tie a knot and seat it in the hole.
Step 8: Refit and test
Repeat for the other side, then lift the sash back into the frame and refit the staff beads, leaving a small gap so the sash runs freely. Test it: the sash should slide smoothly and stay put at any height. If it drops or creeps upward, adjust the cord length.
Common problems
- Sash drops or will not stay up: the weights may be too light for new heavier glazing. A specialist can add or swap weights.
- Sash sticks: paint build-up on the sash edges or beads. Ease and wax the running surfaces.
- Rattles and draughts: the beads may be loose, and this is a good time to consider draught-proofing.
- Rot in the sill or bottom rail: this needs a proper timber repair. See our sash window repair guide.
How much does it cost to have a cord replaced?
A specialist typically charges around £50–£150 per window to replace cords, depending on how many cords need doing and where you live. Many people combine cord replacement with draught-proofing and easing, as the sashes are already out. That is often the best value. See our guide to sash window costs.
FAQs
Can I replace just one sash cord?
Yes, but if one cord has broken the others are usually just as old, so it often makes sense to replace both cords on that sash at the same time.
What cord should I use?
Waxed cotton or polyester sash cord, usually No. 8 thickness, is standard. Avoid ordinary washing line, which stretches.
Do I need to remove the top sash?
Only if the top sash cords are broken. Removing the top sash means taking out the parting beads as well, which is trickier and easier to damage.
Who can repair my sash windows?
Find sash window repair specialists near you and compare what each company offers.
